An Indian passport gets exactly zero visa-free days in Vietnam. Every traveler needs an approved e-visa before boarding: $25 single entry, $50 multiple entry, both good for up to 90 days, issued through evisa.gov.vn in 3-5 working days. I’ve filed this application for enough travelers from my base in Da Nang to know where people trip up, and it’s rarely about the money — it’s about assuming a rule that applies elsewhere applies here too.
Delhi and Mumbai are the only Indian cities with direct service to Vietnam, so plenty of applicants are routing through Bangkok, Singapore or Kuala Lumpur instead — and that changes what belongs on the form. Here’s what matters for a 2026 application, family bookings included.
Vietnam Doesn’t Reciprocate India’s Own Visa Generosity
India hands out e-visas and visa-on-arrival to a long list of nationalities, so it’s a reasonable guess that the goodwill runs both ways. It doesn’t. Vietnam’s exemption list covers mostly Southeast Asian neighbors on 30-day stamps and a wider mix of European, Japanese, South Korean, Russian and Belarusian passports on a 45-day one — India isn’t on it. That puts an Indian passport in the same bracket as e-visa-only passports like Ukraine and Tajikistan: no exemption, no shortcut, just a different reason each time.

That assumption costs the most time at the airport. Travelers used to landing visa-free in Thailand, Sri Lanka or the UAE expect the same in Vietnam — then learn at check-in that boarding needs a printed e-visa approval, not a promise to sort it out later.
The E-Visa Is the Only Legal Way In: Cost, Days, Portal
The fee is fixed by the Vietnamese government: $25 single entry, $50 multiple entry, both valid up to 90 days from approval. Processing runs 3-5 working days through the one legitimate portal, evisa.gov.vn — see the fuller processing-time breakdown if your dates are tight. Your passport needs six-plus months of validity and two blank visa pages, or the form bounces before anyone reviews it.
Once approved, the e-visa works at a fixed list of checkpoints: the airports at Ho Chi Minh City (Tan Son Nhat), Hanoi (Noi Bai), Da Nang, Nha Trang (Cam Ranh) and Phu Quoc, plus the land borders at Moc Bai, Lao Bao, Ha Tien and Lao Cai. I file this for a flat $55, government fee included, for anyone who’d rather send a passport scan than sit with the portal — the full fee breakdown is worth a look before you pay extra for “express” processing you probably don’t need.
What to Have Ready Before You Touch evisa.gov.vn
Half the delays I see are avoidable — the form rejects mismatched submissions and sends you back to square one. Before you open the site, have:

- A passport valid at least six months past entry, with two blank visa pages
- A clear scan of your passport’s bio page, all four corners visible
- A recent passport-style photo on a plain white background — no glasses, no shadows
- Your confirmed arrival airport or land border, and the date you’ll cross it
- A Visa or Mastercard that can be charged in US dollars online
Skip any one of these and the portal either rejects the form outright or holds it for manual review, eating the 3-5 working days you were counting on.
Every Traveler in Your Group Files a Separate Application
This is the one that catches family bookings hardest: Vietnam’s e-visa is issued against a single passport, not a household. Every person needs their own application, their own $25 or $50 fee, and their own approved PDF — even a child with their own passport needs a separate e-visa, filed with their own scan and photo. There’s no “add a dependent” option.
I’ve had parents realize at check-in that three e-visas came through and a fourth, filed in a hurry, never got submitted — an easy mistake across four nearly identical forms, and worth a second pair of eyes a few days out rather than at the counter.
Six Steps From evisa.gov.vn to an Approved PDF
Once your documents are together, the application itself is short:
- Go straight to evisa.gov.vn — not a lookalike agency page charging a markup for the same form.
- Enter your passport details exactly as printed, in Latin letters, with no shortened or missing names.
- Upload your passport bio-page scan and a plain white-background photo.
- Select the exact airport or land border you’ll enter through — it locks in once you submit.
- Pay the fee: $25 single entry or $50 multiple entry, by Visa or Mastercard.
- Wait 3-5 working days, download the approved PDF, and keep a printed and a phone copy.
That’s the entire process — no embassy visit, no courier, no interview.
Delhi and Mumbai Aren’t Your Only Route In — Plan Around the Layover
Direct flights between India and Vietnam run mainly out of Delhi and Mumbai; travelers from Bengaluru, Chennai, Hyderabad or Kolkata usually connect through Bangkok, Singapore or Kuala Lumpur instead. That matters because your e-visa’s entry date and checkpoint must match where you actually clear Vietnamese immigration, not where you boarded in India.
Fly out of Delhi at night and land in Da Nang the next afternoon after a layover, and your entry date is the Da Nang landing date — Delhi was never a valid Vietnam checkpoint anyway. Count your 3-to-5-working-day processing window back from that connecting flight, not the day you leave home, or you can end up wheels-up on an e-visa that hasn’t cleared yet. Our Vietnam e-visa 90 days page walks through how that timing works when a layover is involved.
The Phu Quoc Exception, and Why Overstaying Isn’t an Option
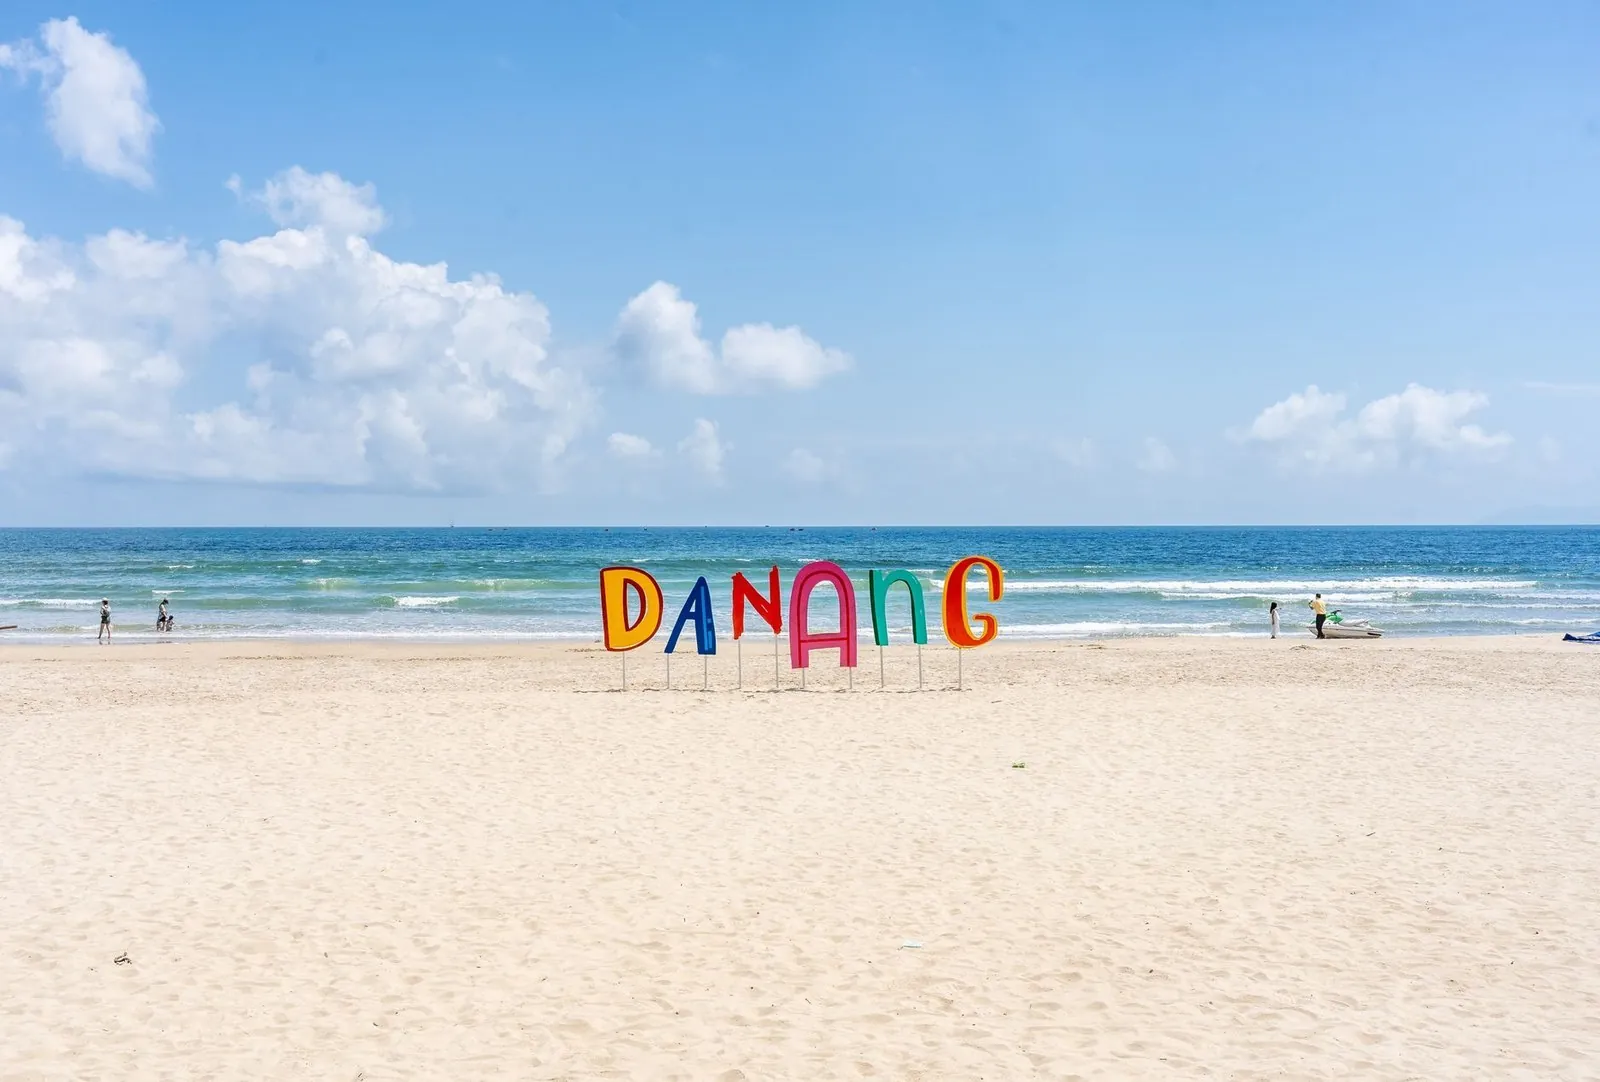
There’s exactly one way around all of this: fly straight to Phu Quoc island and Vietnam waives the e-visa entirely, for up to 30 days, no application needed. Want the mainland too — Da Nang, Hanoi, Ho Chi Minh City — and that exemption ends; you need the e-visa before you go, not after you land.
The other limit: the e-visa caps at 90 days, and Vietnam offers no in-country extension. A longer stay means a fresh e-visa from outside the country, or a visa run to Laos or Cambodia that resets the clock on re-entry. Overstaying instead is the expensive way to find out how that’s enforced — our guide to Vietnam’s overstay fines covers what it costs.
Every one of these gets more complicated with more people or more layovers attached, and that’s where I come in. I file the application, pick the right checkpoint for your routing, and chase down a bounced photo or declined card before it becomes a re-submission. Most applications go back within a day — if yours is due to fly in the next few hours, tell me and I’ll push a clean one through in about 3 instead. Message me on Telegram or start directly at danangvisarun.com if you’d rather have it booked in one go.
Frequently asked questions
Do Indian citizens need a visa to enter Vietnam?
Yes. There is no visa-free entry for Indian passports under any current agreement — an e-visa (or, for a Phu Quoc-only trip, the 30-day island exemption) is required before you fly.
How much does the Vietnam e-visa cost for an Indian passport?
$25 for single entry, $50 for multiple entry — that’s the government’s own fee if you file directly on evisa.gov.vn, both valid for up to 90 days. Best Bus’s flat rate is $55 if you’d rather send a passport scan than manage the portal yourself.
Can my child travel on my Vietnam e-visa instead of applying separately?
No. Every traveler, including children, needs their own e-visa application filed against their own passport, with its own $25 or $50 fee.
I'm connecting through Bangkok or Singapore — which date do I put on the e-visa application?
Use the date you actually land in Vietnam and the Vietnamese airport or border where you’ll clear immigration, not your departure date from India.
What if I don't have 3-5 days before my flight?
Best Bus can push a clean e-visa application through in about 3 hours if your flight departs soon — message us with your passport and travel dates and we’ll confirm it’s realistic for your timing.